
Scrim tape is one of those plastering tools that the best in the business would never be without. In theory, it’s technically possible to complete a plastering job without it, but doing so can have severe effects on the quality and durability of the finish. Cracks can often eventually appear in plaster which has been installed without the use of scrim tape, which can be pretty time-consuming (and expensive!) to fix. Here at R&J Builders Equipment we’re frequently asked questions about this handy little tool, so below, we’ll be going into more detail about the uses of scrim tape – and the best ways to apply it correctly!
What is scrim tape?
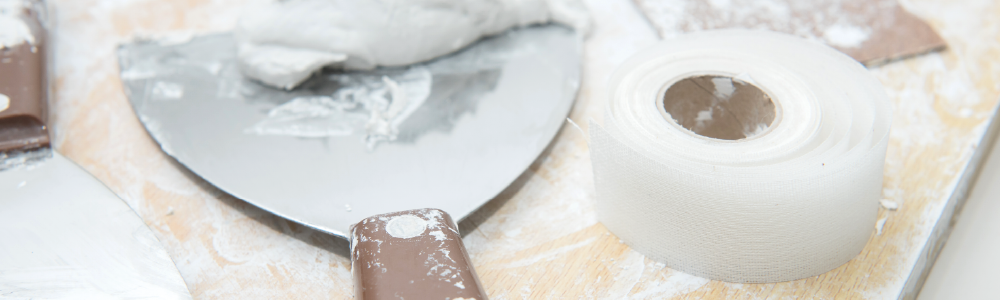
Basically, it’s a self-adhesive tape made of a firm, open-weave fabric, and one of the most commonly used plastering supplies. This fine mesh net looks like a slightly thicker version of the gauze used in medicine, and it’s available in several sizes, typically ranging from between 48mm to 100mm wide. Its job is essentially to strengthen joints in plasterboard, ensuring a connection that’s both seamless and secure.
What exactly does scrim tape do?
It bridges the gap between two or more plasterboard sheets, preventing cracks and weaknesses from occurring once these gaps have been plastered over. Even the most skilled of installers can’t eliminate these gaps entirely simply by pushing the plasterboard together, and you’d be hard pressed to find a single piece of plasterboard that was big enough to cover an entire internal wall. Without scrim tape, these gaps can eventually result in cracks after the final layer of plaster has been applied (in other words, when it becomes far more expensive and difficult to fix).
The open weave of the scrim tape is designed to avoid this by only sticking to the plasterboard, securing the separate sections in place while the final layer of skimming plaster is applied over the top of them. Once that’s sorted, you can have utter confidence that all your hard work will stay perfectly intact.
How to apply scrim tape
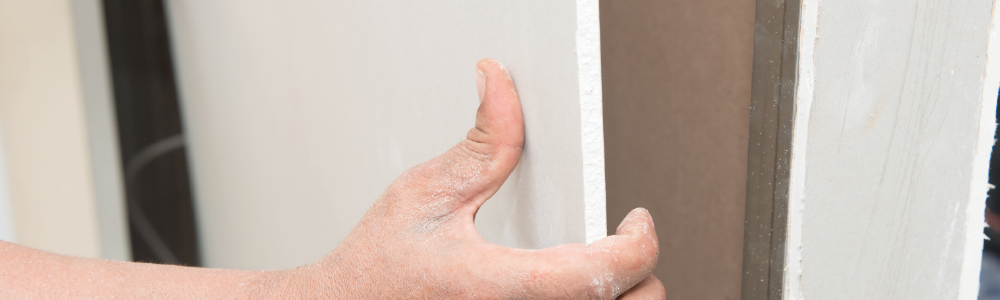
For those of you wondering exactly when to use scrim tape, the answer is just after you’ve applied the first layer of plasterboard, but before you apply the final skim coating. Start off by smoothing the tape over the joints, ensuring that it covers both sides as equally as possible; it might end up being less effective if it goes on at a skewed angle. The internal corners also need to be similarly taped to prevent cracking. (When it comes to securing the external corners – for example around window recesses – you’re better off using angle beading.)
Key points to remember:
- Try to avoid overlapping separate lengths of the scrim tape, just in case one of them is caught by the trowel when you’re applying the skim coat.
- Don’t worry if the scrim tape isn’t sticking as strongly as you thought it would be. It won’t be as powerful as adhesives normally used to connect glass, wood or metal – it’s just there to prevent the plaster coating from falling off while it facilitates proper curing. As long as it doesn’t start actually peeling off while you’re still working, you can usually count on it to do the job just fine.
- The roughness of the surface can also affect how well it sticks. As you’d expect, it works best with the smoothest surfaces, so if the surface of your plasterboard is slightly rough for whatever reason, it will have a knock-on effect on the adhesiveness of the tape. It’s rarely something to worry about, but definitely something to be aware of!
Here at R&J Builders Equipment, we offer a considerable range of plastering supplies amongst our stock of builders hardware, including our Bondit 100mm x 90 fibreglass scrim tape – a solid product which makes the job simpler and easier than ever. You can shop our full range of plastering supplies here, or alternatively feel free to give us a quick call on 01254 52525 if you have any questions, or need any advice. We’re here to help!


